The Mandalorian is one of my family’s favorite shows to watch together. I was so excited to make a DIY baby Yoda ornament and to share it with you. I used my Cricut to embellish my baby Yoda facial features but if you didn’t have a Cricut I’m sure you can draw the face with a marker. This post has affiliate links.
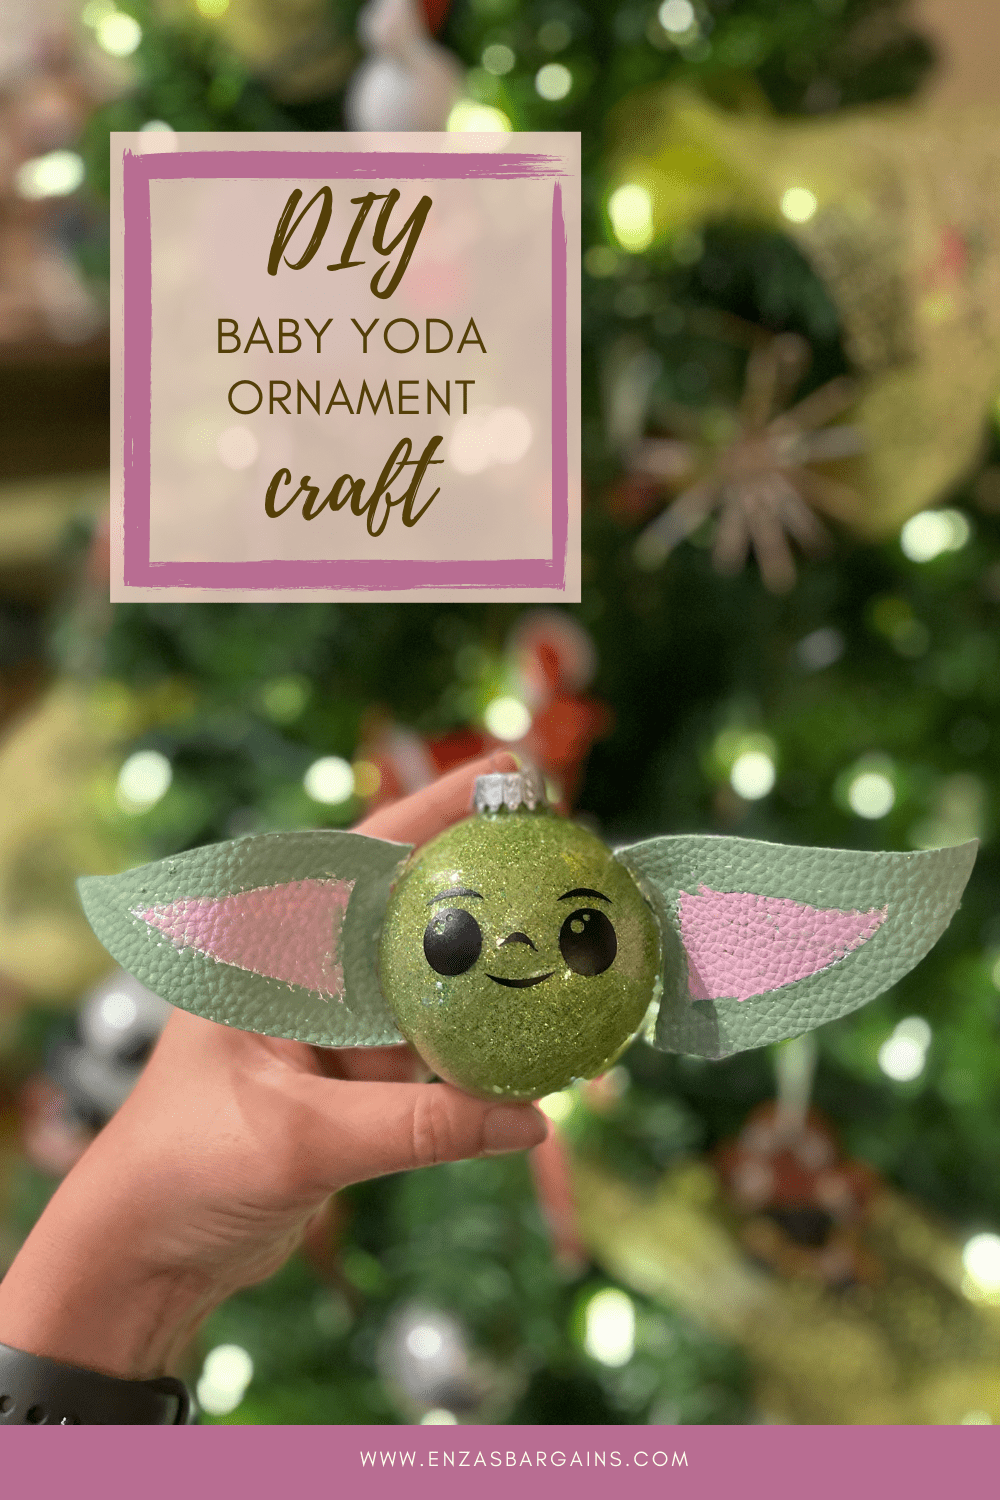
DIY Baby Yoda Ornament
First, what you want to be able to do is find the perfect baby Yoda green. I blended multiple fine glitter colors to create the right shade of green.
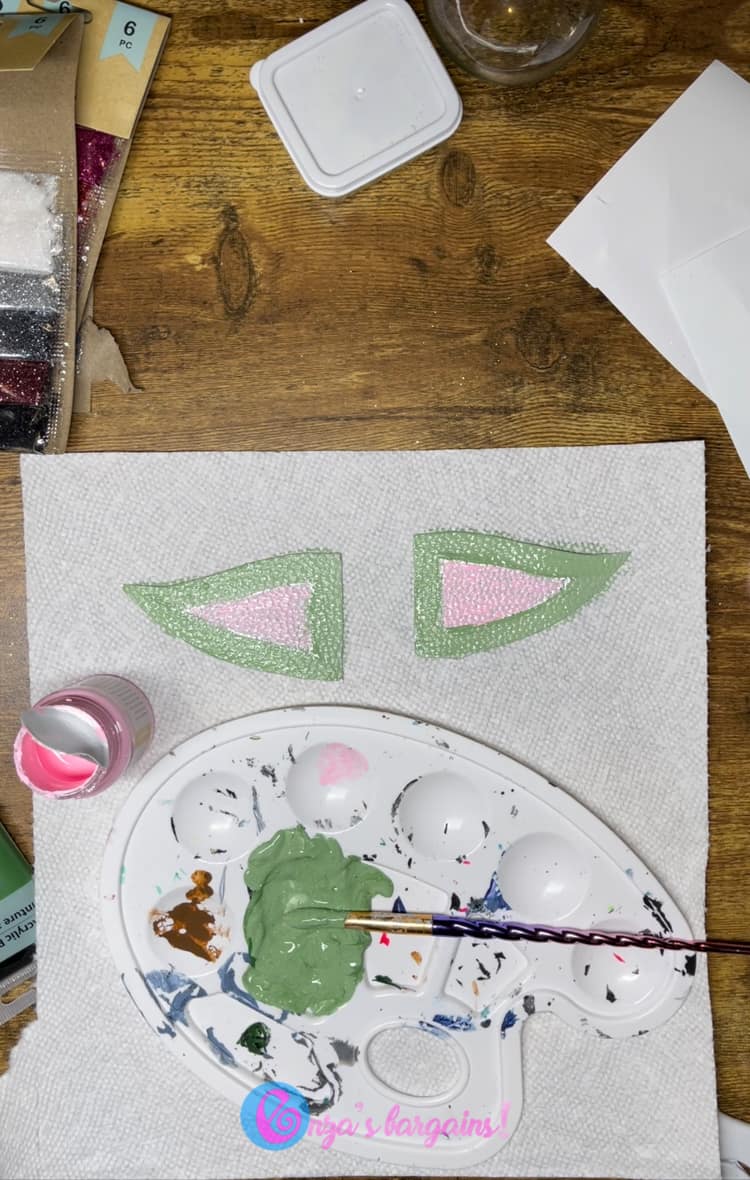
Then I used acrylic paint and mixed it to create a matching green color for the ears.
Using faux leather ribbon, I cut the shape of baby Yoda’s big ears. Then I used my acrylic paint to paint the green outlining the ears and the light pink inside.
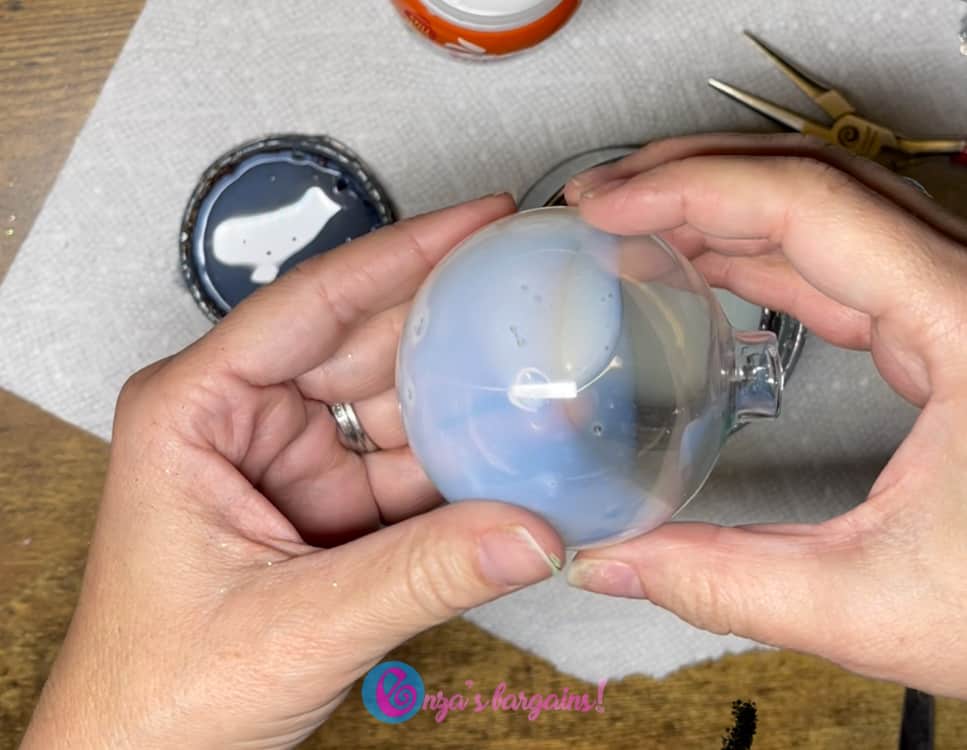
Now it was time to glitter my ornament. You are going to want to coat the inside of your ornament with polyacrylic. Swirl your glass ornament in circles until the entire inside is covered and polyacrylic. Then let it sit for about 10 to 20 minutes to become pretty tacky inside. Place it upside down so any excess will drip out of it.
After the polyacrylic is set, you are going to add your green glitter mixture using a homemade funnel to fill the glitter inside your bulb.
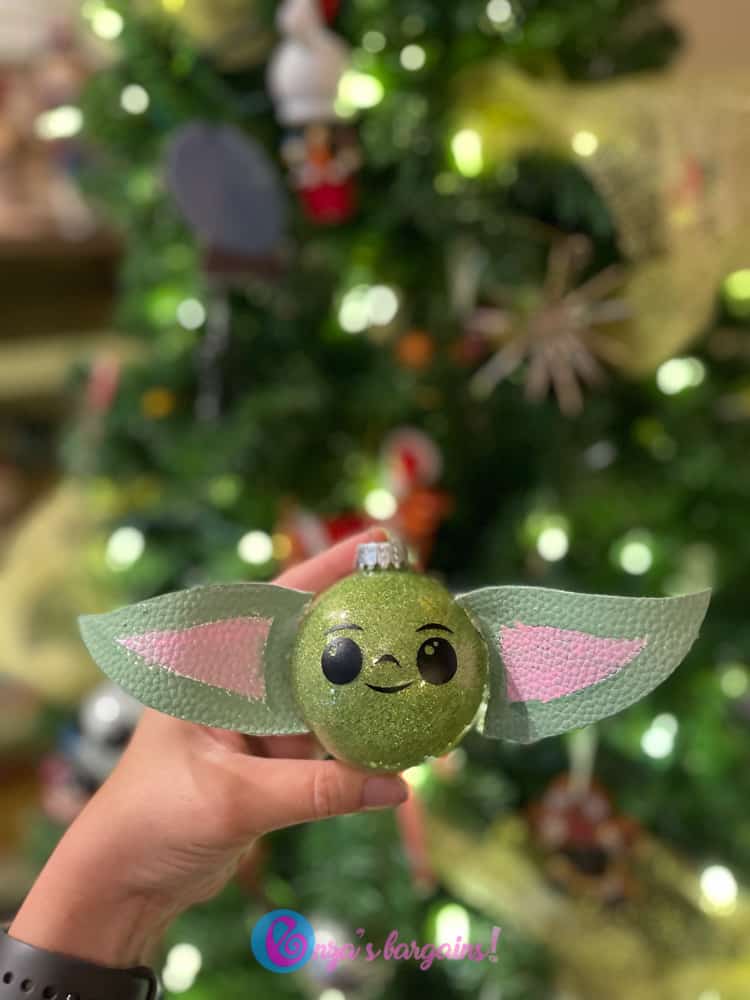
Twirl your ornament in circles until the entire bulb is covered in gorgeous green glitter.
Last but not least, you’re going to want to cut out the eyes and nose and mouth of your baby Yoda. I created the entire design using shapes in Design Space.
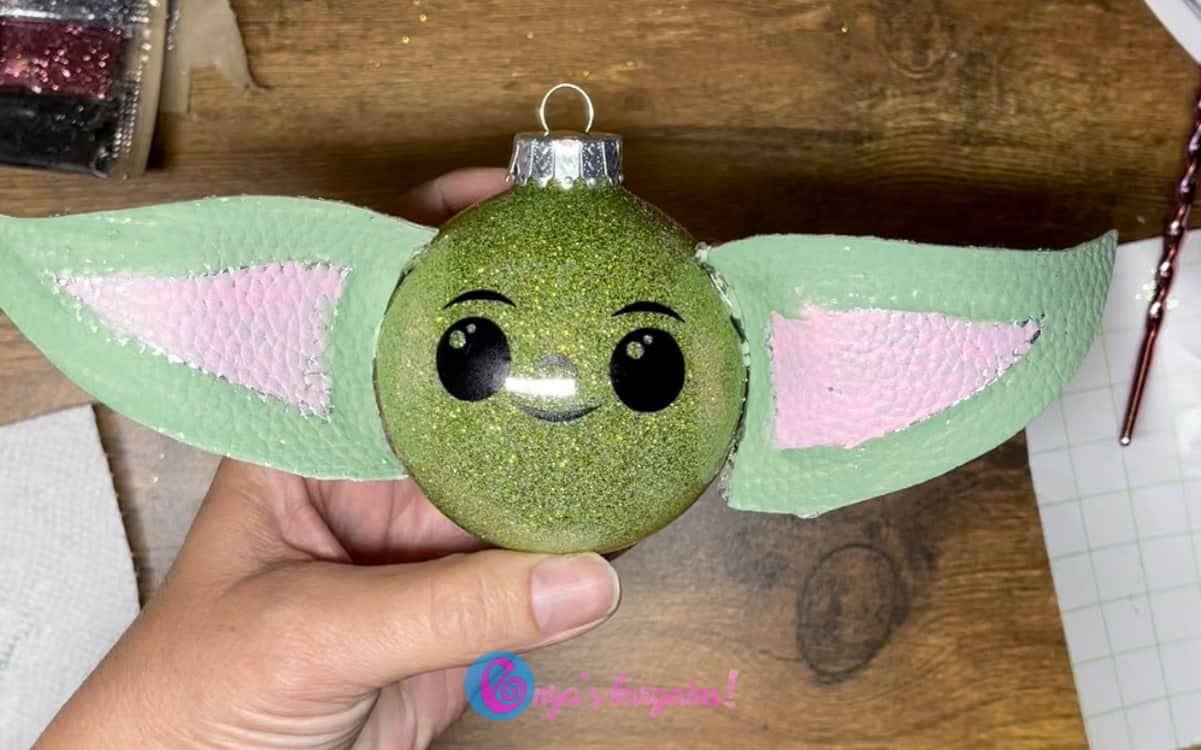
I used removable black smart vinyl and my Cricut Maker 3 to cut it. I found that the removable smart vinyl is the best and has just enough stretch to it to not bubble on my glass ornament.
Using transfer tape apply baby Yoda’s face to the glittered ornament.
Lastly, once your ears have dried use your favorite hot glue gun and glue the ears to the side of your ornament.
If you love this craft then you would probably also like my baby Yoda Elf on the Shelf post that I have done.
Here is a video on how to do it! Don’t forget to like and follow for more DIY and Crafts!
@enzasbargainsThis DIY Christmas ornament is my new favorite! ##artsandcrafts ##crafting ##diy ##paint ##glitter ♬ It’s Beginning to Look a Lot like Christmas – Michael Bublé
@enzasbargainsThis DIY Christmas ornament is my new favorite! ##artsandcrafts ##crafting ##diy ##paint ##glitter ♬ It’s Beginning to Look a Lot like Christmas – Michael Bublé