If you followed my social media for awhile you know that we became owners to our newest puppy, Pixie. This month Pixie celebrates her first birthday. We have never done Dog Birthdays before but we wanted to celebrate this one with a cute sign. I am going to share the information on how to make your own sign with your Cricut Maker and first I want to share a little bit about our puppy Pixie. This post is sponsored and contains affiliate links. That just means if you happen to make a sale, we may earn a small commission at no cost to you.
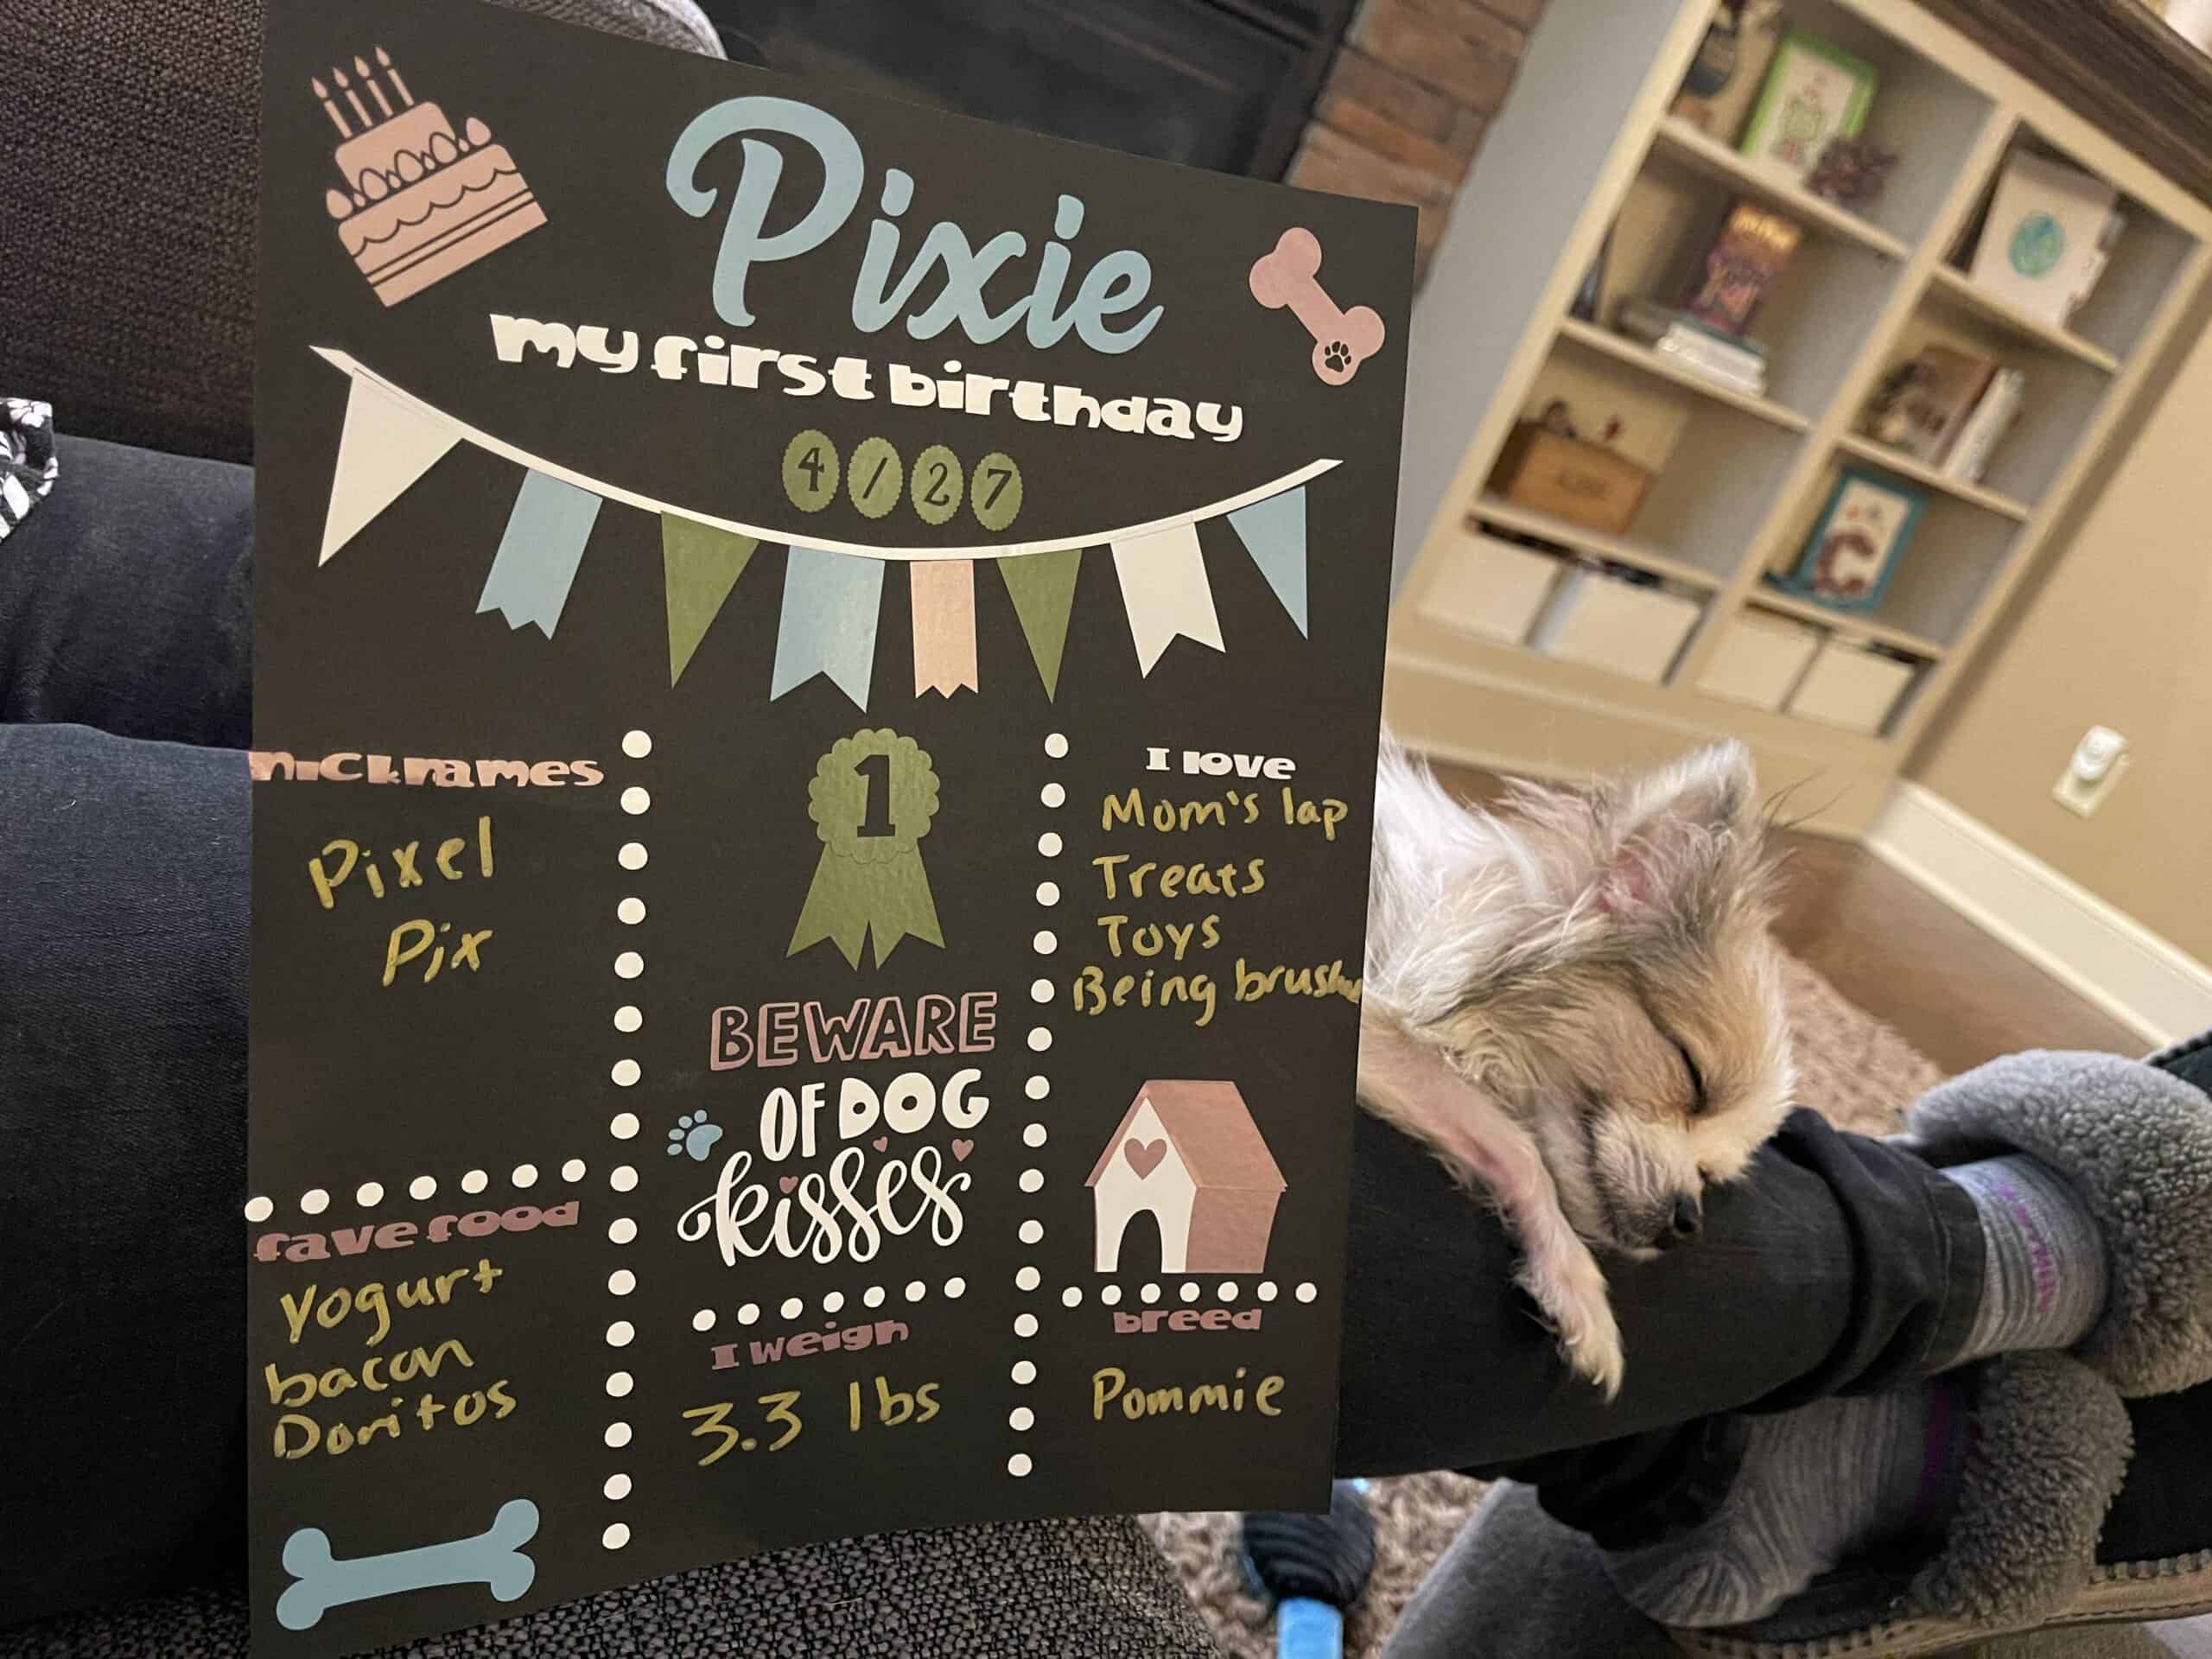
We invited Pixie to our home last July. She was a tiny puppy and we expected that she would reach about 6lbs. After having her for a few months, she would randomly stiff up and have accidents on us. Later her demeanor during these events were weird. We eventually figured out after many tests that she was having seizures. We had to do some MRIs and ultrasounds and originally figured out she has some fluid or bacteria in her brain. We also learned that she is fully grown at only 3.3 lbs. She is quite the handful. I share this story with all of you because I know we all have our own pet stories, and I do believe the deserve to be celebrated.
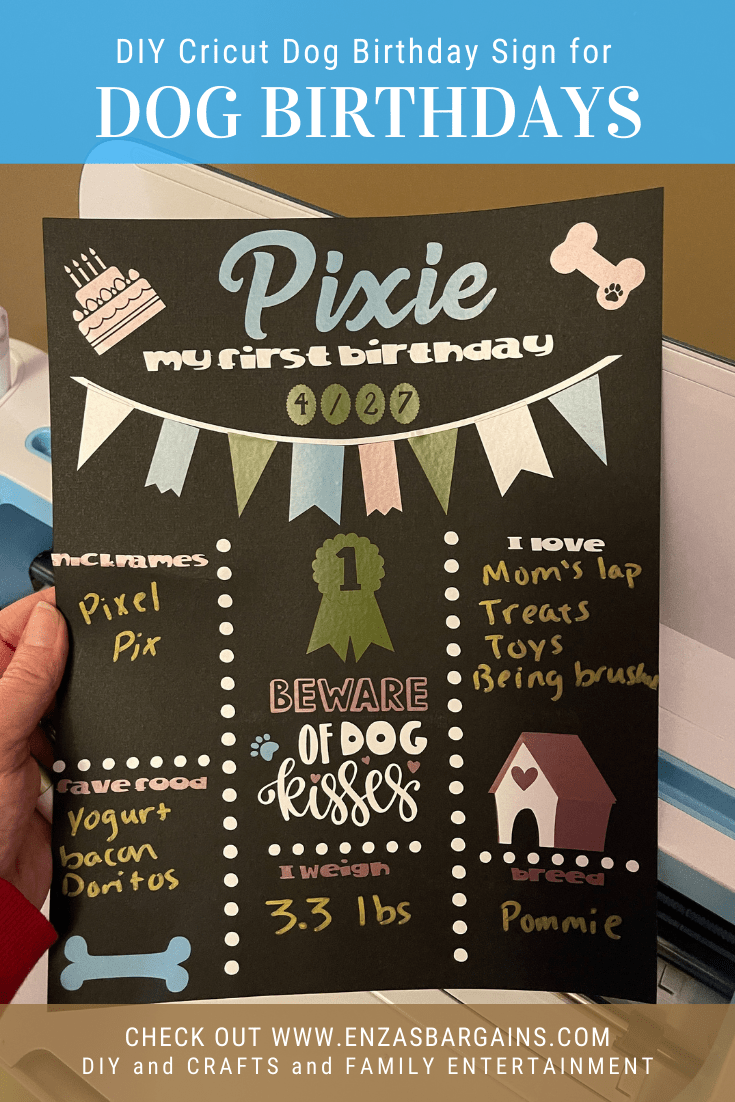
Dog Birthdays – Dog’s First Birthday Sign
After you make this great birthday sign, we actually had a Dog Themed birthday for humans so be sure to grab our cute dog birthday food ideas.
What you need:
Cricut Maker or Air
Light Grip Mat Board
Cricut Vinyl
Cricut Tool Set (weeder and scraper)
Ream of Cardstock Paper Any Color
Transfer Tape
Cardstock Paper or a Black Chalkboard
Directions:
- Find the Cricut project that you want to use! Feel free to use my project design here.
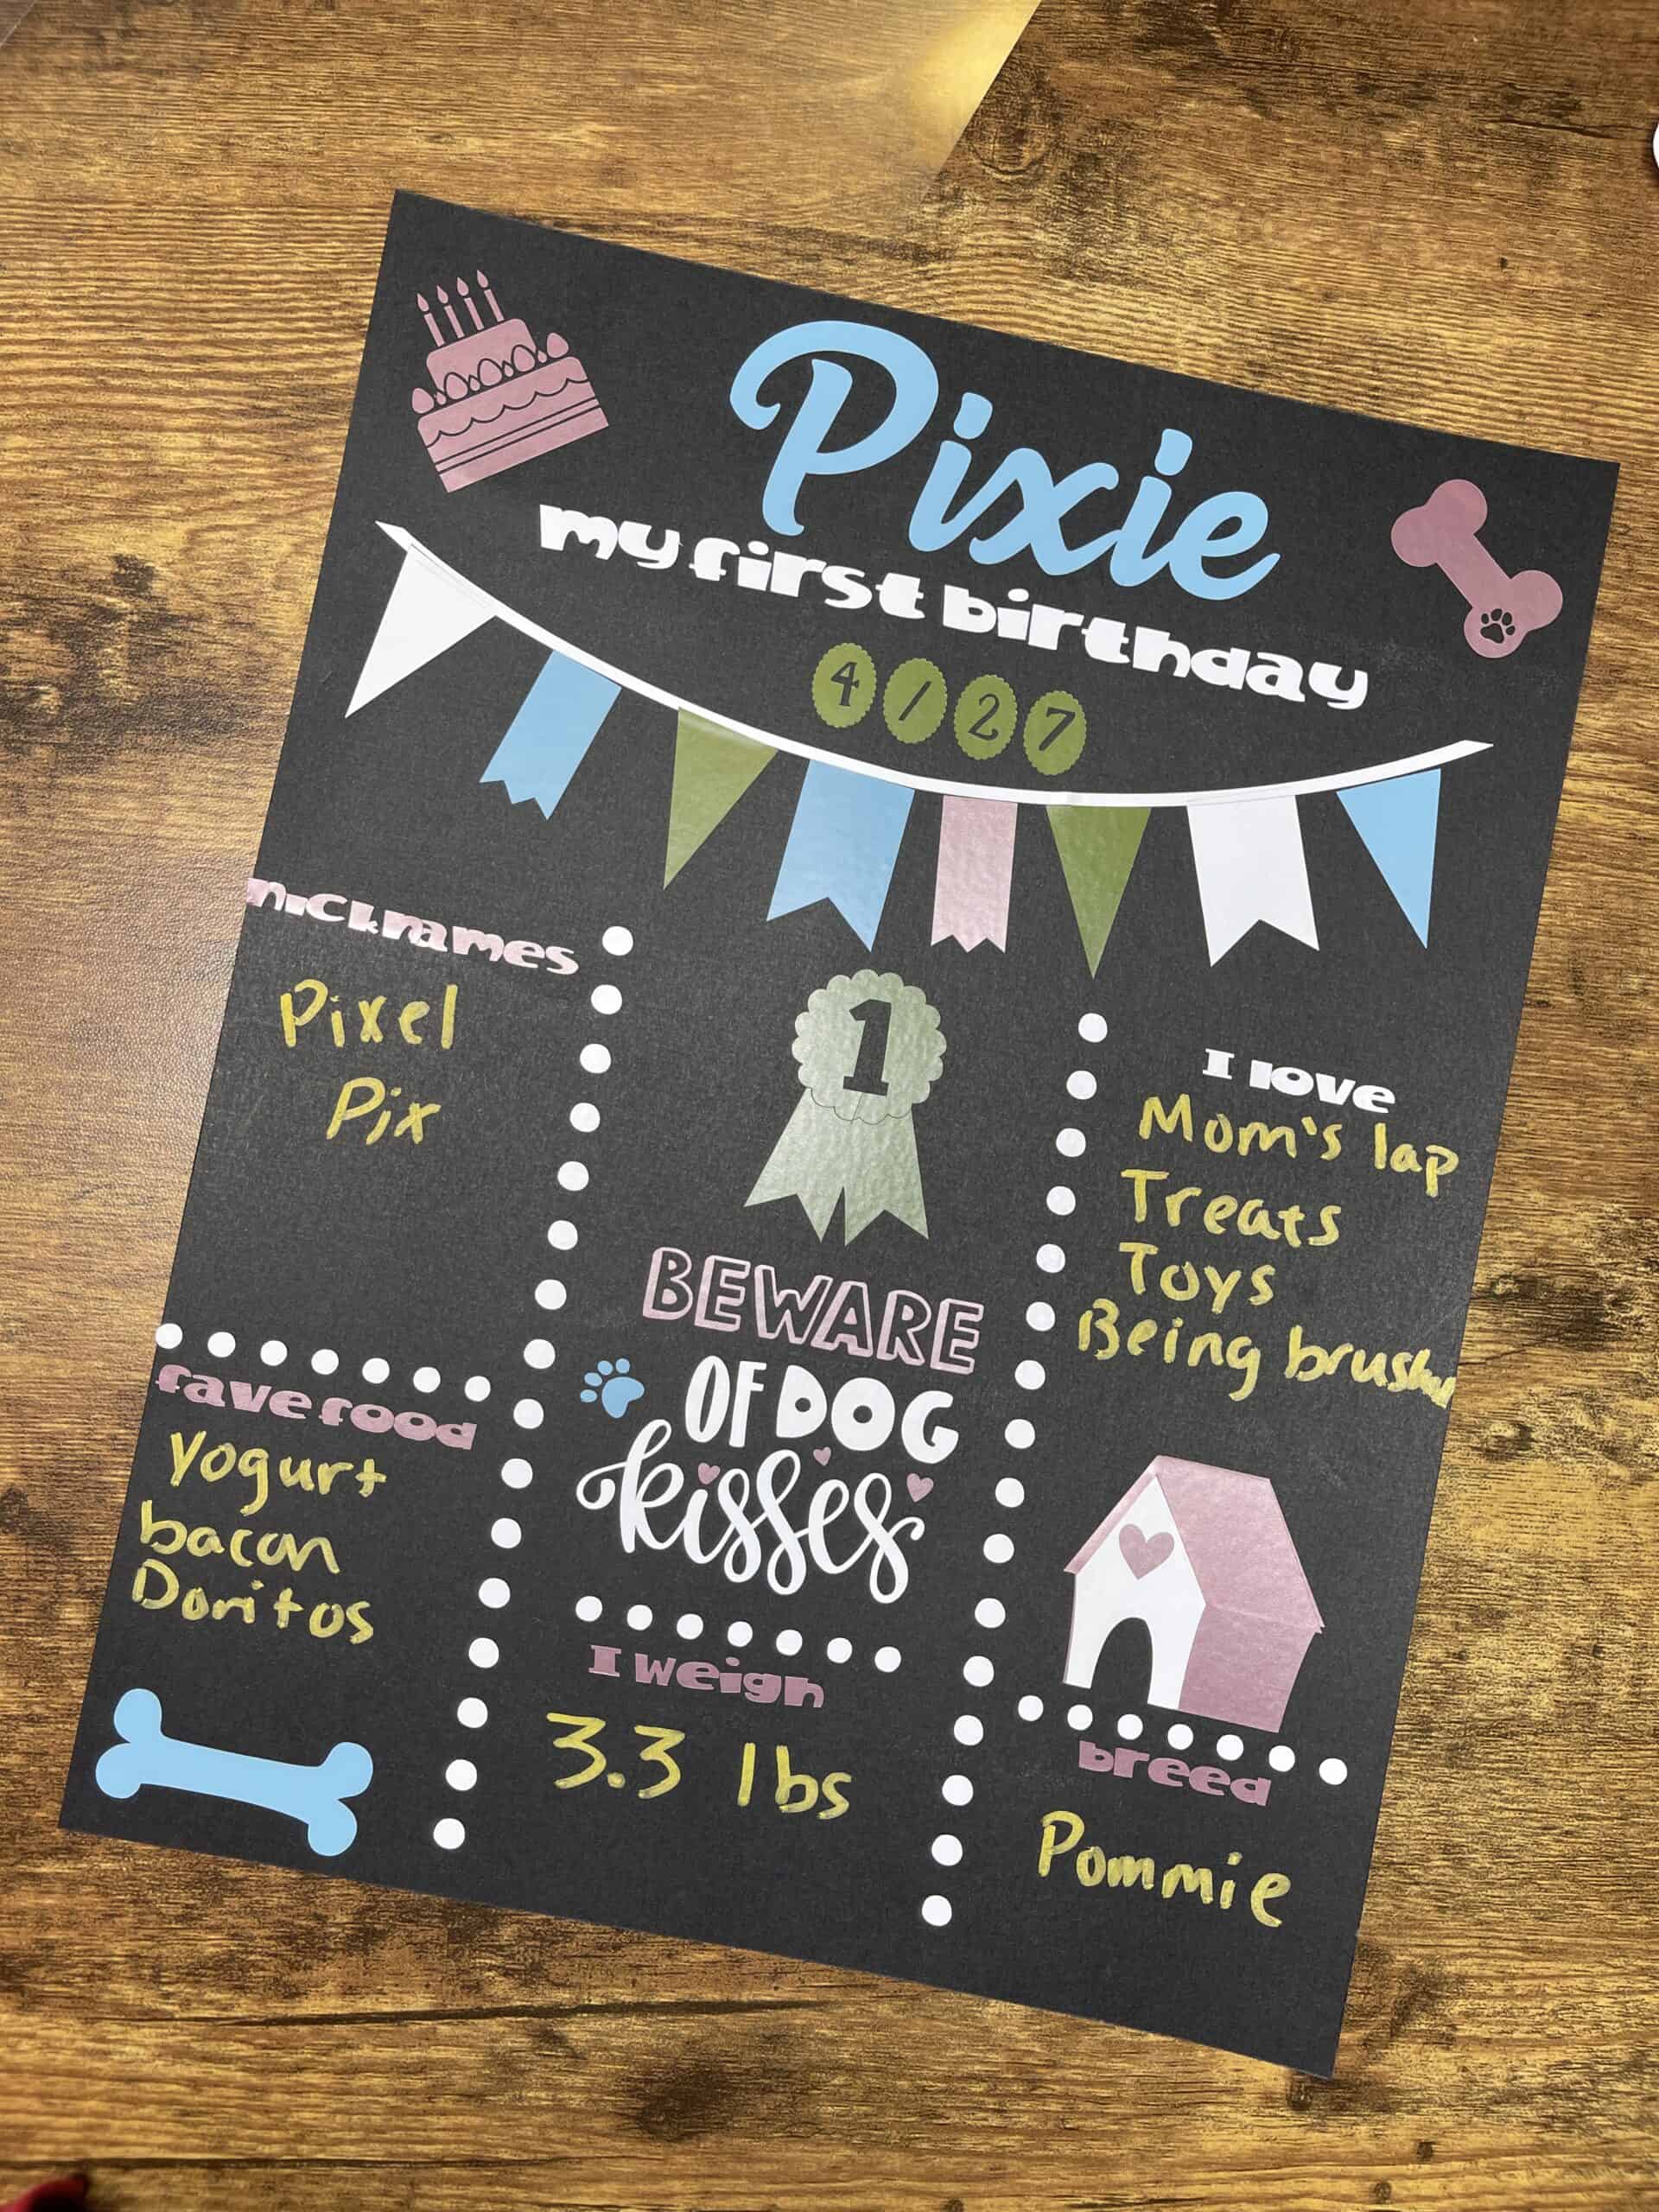
- Cut your background on cardstock and all your other layers with Cricut vinyl.

- After you cut all your pieces and weed them. Layer them on your cardstock background using transfer tape.
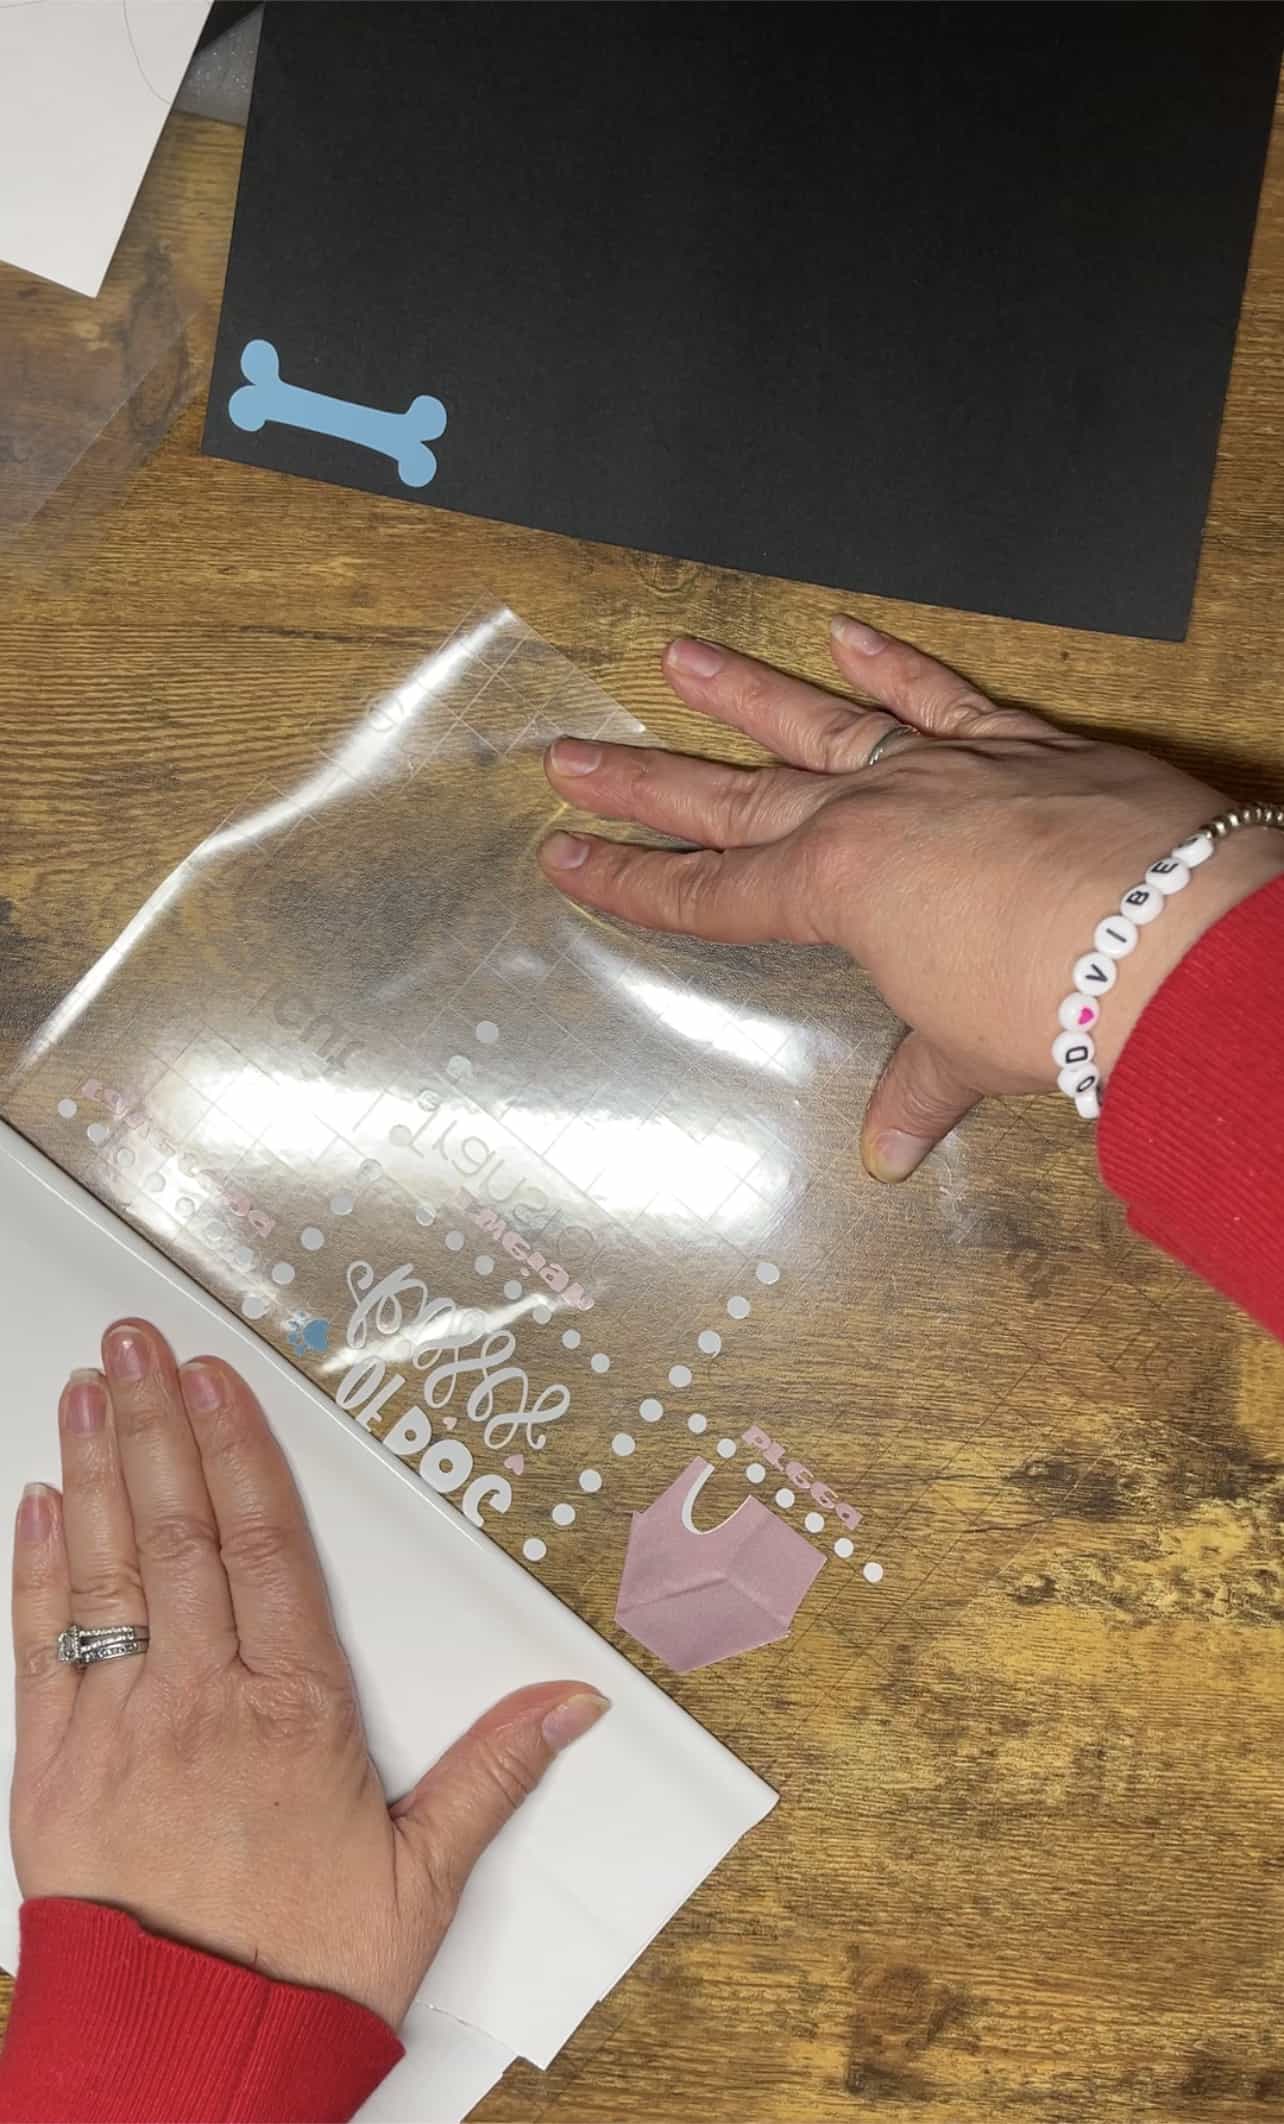
What I love most about this Dog’s First Birthday Sign is you can really edit it to be used every year by applying it to a chalkboard instead and editing the title! If you create some variation of our design, we would love for you to share and tag us on your post!
This is also a really good project to start with if you haven’t ever layered vinyl before!